
During our MetMo Driver campaign we worked through a few issues in order to get the best possible end result for the product and for all of you. We wanted to share with you some of the issues we worked through with various components, and also to give a small insight into the QC process.
QC visit
First up on the list is our biggest happening, the mammoth quality check! So, this involved going around to all the suppliers now they've made and applied the surface finishes to all of the major parts of the Drivers.
To anyone new to the process, we do this process before it leaves the factories, so that we're able to easily fix or re-make any parts that fail the QC process without wastingtime shipping them around and then finding the problems when it's too late.(Learnt that the very hard way 😐).
What we do is take 30 random samples of each part from the batches and put them under a microscope, if there are any issues in the batch then that entire batch is pulled and checked fully in further detail.
We have abbreviated the full report as most of the parts passed with flying colours. We did pick up on a few parts that we were not totally happy with. One of those was the chucks, then some of the bent arms and a few of the handles for the bit holder.
We're starting with the bad stuff as we always like to finish on a positive note!
The Chucks

As you can see there were some cosmetic dents in this chuck. After we investigated, this was annoyingly caused not by the machine shop, but when they were sent out to be heat treated they were not packaged adequately, so they dented each other in transit. This is an ongoing battle we have with trying to get engineering businesses to make products where the visual matters! This didn't affect all of the parts but around 30% were remade/polished up.
The Bent Arms

These parts were actually not too bad all things considered, but a good number of them were scratched. Again poor packaging between the fabrication shop and the polishing shop. This one was easier to fix and just involved us re-polishing the arms.
Tool handle

This one was a bit unexpected and not something we hadcome across before. When the parts had been anodised and treated, the shape caused an unusual stress fracture in the part, as can been seen in the image. It looked like the part had been thinned by the acid etch prior to the electrolysis or anodising process (well worth looking up on youtube if you have never seen it before) then during the final phases it has fractured.
This was localised to just this one part and affected about 300 of them in total, so they they were sent backto the machine shop for round 2!

On the left are the fails, on the right are the passes in this particular batch so you can see the problem wasn't affecting all of the parts.
Final production sample
From the above process we were able to put together a finished Driver with all of the production parts. This was the final test of all of the parts and minor modifications we had made as we went along, and we are pleased to say that everything from the anti vibration adhesive dots, to the minor handle tweaks were looking good and worked as planned.br>
New Silver Driver
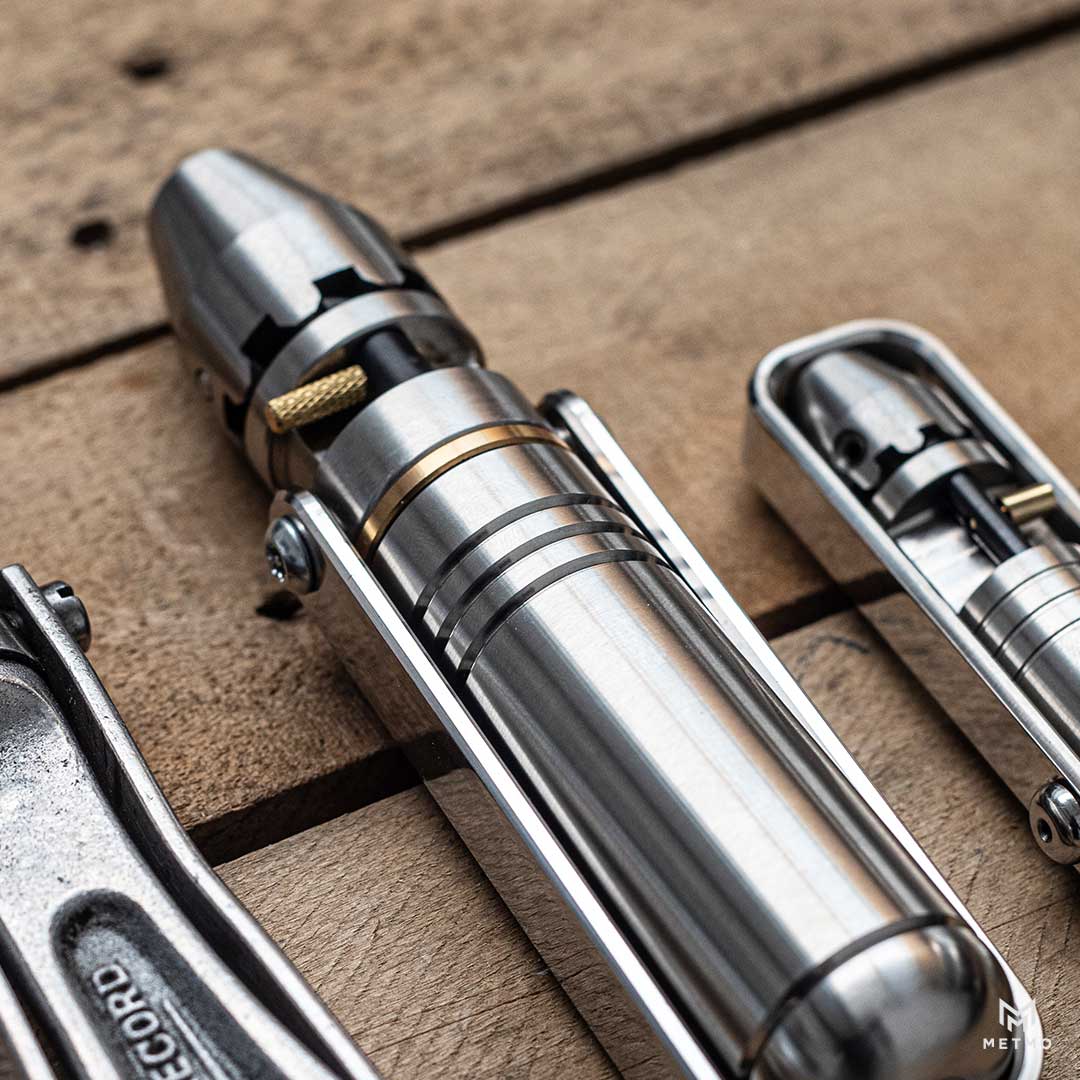
We managed to get the Driver to match our shiny MetMo Pen which took a surprising amount of effort but was well worth the time spent!

Tiny Box Time
We're not big fans of producing more waste with packaging than we have to, but with the use of our fulfilment centres we couldn't guarantee the add-on parts would be handled correctly, so we designed these insanely cute little boxes for our upgrades.

We loosely styled them around how spark plugs used to be boxed. They also carry a link to some instructions on how to dismantle and change that part of the Driver, so if you are giving it as a gift it wont be like a challenge from the crystal maze to rebuild your Driver.
Upgraded extenders
We decided that our original Driver bit extenders just weren't doing it for us. So we went and splashed out a bit and upgraded them to quick release. Because we don't design bit extenders we had a hard time finding really good ones that we were happy with. We thought we had some good stuff but whilst doing some repair work in the kitchen with them, the magnets just fell out of one of them...in short we were not impressed.
So we went back to the drawing board and found these much nicer quick release bit holders. These combine a magnet and physical lock, with the added advantage that the bit can't get stuck in the screw head and be lost forever down a hole! We've been using these and they are a much better product and they also look great when plugged into a driver too!


Sticky brass bit conclusion
This is the conclusion of the blue dot anti-vibration adhesive we mentioned earlier. To summarise there was way too much of it applied on our pre production run, and it permanently fixed parts in place. The solution was a very simple application of a single dot.

This now works as intended, protecting this part from loosening during use and allowing you to dismantle the Driver, for servicing and repair.


